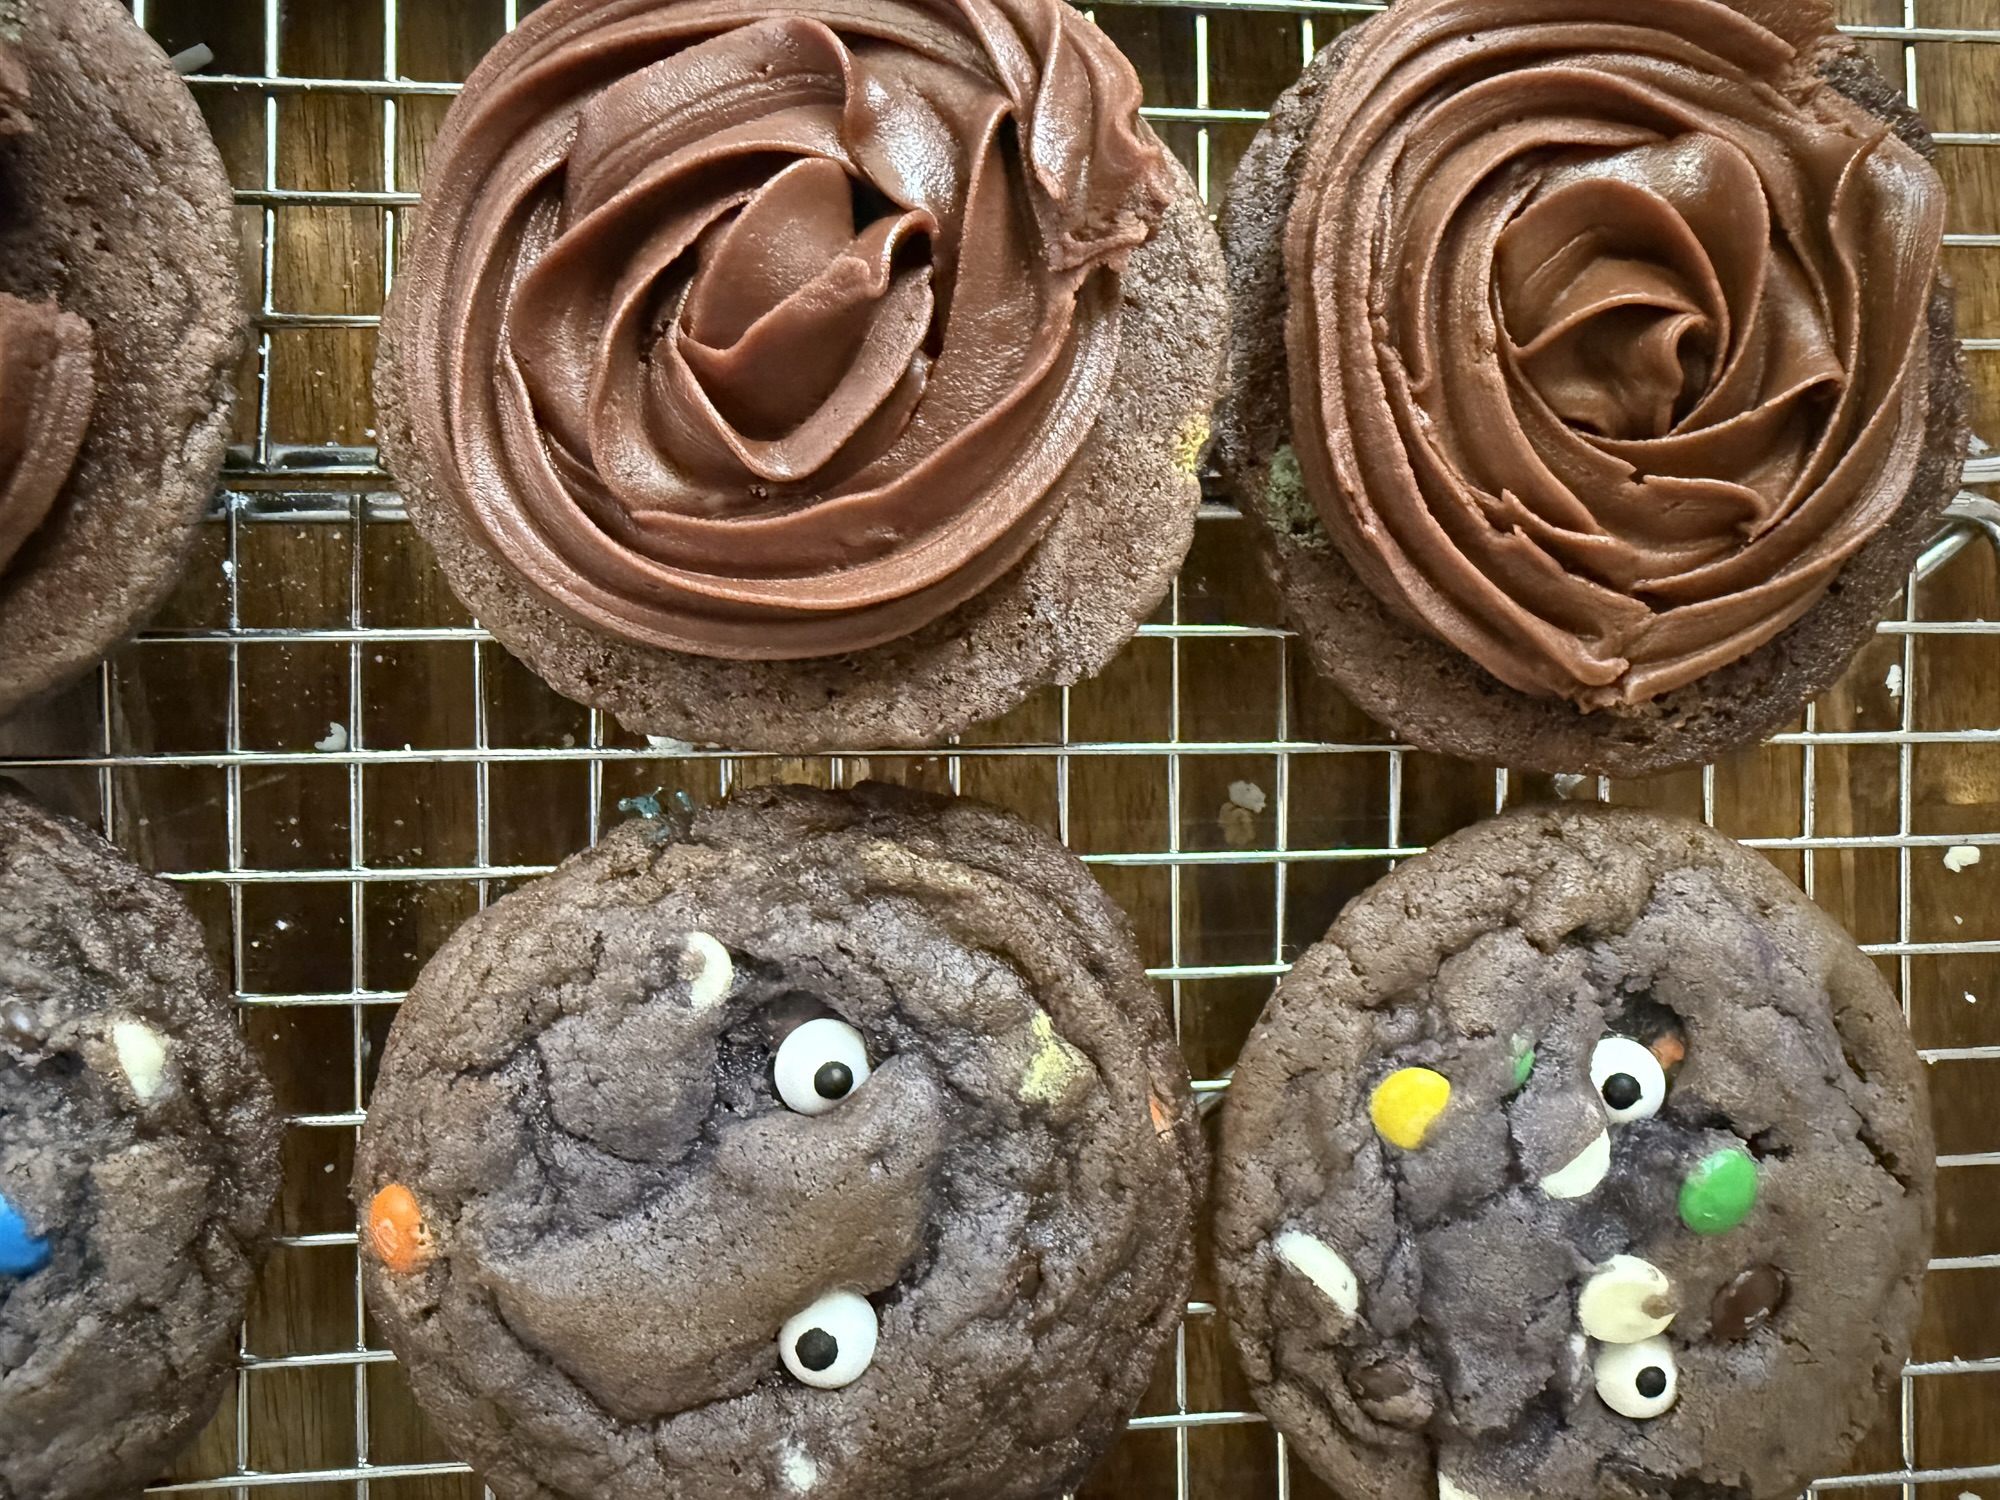
These Monster Mash Cookies are what happens when a classic chocolate chip cookie gets a Halloween makeover. 👻🍪 Instead of traditional chocolate chips, I loaded these soft, chewy cookies with mini M&Ms and white chocolate chips, then added candy eyes while they were still warm from the oven.
I also filled these Halloween cookies with a rich chocolate frosting that comes from my state’s tested list of room-temperature-safe frostings. The frosting is cooked on the stove, which is an important part of the tested recipe.
I experimented with purple food coloring in the cookie dough because I thought purple monster cookies would be adorable. 😂 They were cute going into the oven, but a lot of the purple baked out and turned brown. Next time, I’d either leave the dough its natural color or add a little cocoa powder for a chocolate monster cookie instead.
These are such a fun Halloween baking project for parties, trick-or-treat season, school events, or just making a batch of cookies with the kids. They’re playful, easy to customize, and honestly… who doesn’t want a cookie covered in candy eyes? 👀
If you’re looking for a fun Halloween cookie recipe that’s a little different from the usual decorated sugar cookies, these Monster Mash Cookies are definitely worth making.


Chocolate Chip Cookies
Ingredients
Equipment
Method
- Start by browning the butter. Take your 1 cup of butter and put it in a pan on the stove. medium heat, and cook it until it browns. this will take 5-10 minutes! (Essentially you are browning the milk fats which adds such an irreplaceable flavor). I usually make the browned butter the night before and just pop it in the fridge to cool down. You WILL need to add the evaporated liquid back to the butter (so use a scale and get the weight back to 227! I saw someone say to just add 1/4 cup extra but I have not tested that!)
- Next, in your stand mixer, combine the sugar and molasses. I typically eyeball this, but 1-2 TBS should be perfect (just go by color). This may need a few minutes to come together fully and you may need to scrape the bowl down (molasses is sticky!)
- Cream the butter and (now) brown sugar together until it is no longer grainy (3-5 minutes)
- Now you'll add in the eggs and vanilla. You can do it gradually if you want- I usually do not- just make sure it is fully incorporated.
- Next, add in the dry ingredients. It may be helpful to sift the flour (especially if you buy it in larger bags).
- Finally, add in the M&Ms and white chocolate chips
- For scooping, a 3TBS scoop is my go-to. I typically refrigerate these overnight but feel free to bake immediately (they may spread a bit more if baked immediately so be prepared to shape them! they'll still taste amazing)
- Bake at 375F for about 12 minutes on a parchment lined baking sheet (pull them when the edges start to get color!) The centers may look a bit glossy but they will set. The residual heat continues to cook them after they're out of the oven. I typically pull them off the sheet almost immediately
Leave a Reply